Unboxing a Meraki MX65W Security Appliance
Hey there!
My home router/firewall replacement arrived yesterday! :D
I got the Meraki MX65W, a 12 port firewall/switch/router/wireless access point/IPS.
Some of the features are:
- 802.11ac
- 2x ethernet WAN ports
- 2x PoE+ ports
- 12x total ethernet ports, including the 2x WAN ports and 2x PoE+ ports
- Cellular 3G/4G failover via an external USB modem
- Cloud management (duh)
- Firewall/content filtering
- IDS/IPS functionality (“threat protection”) using AMP (“Advanced Malware Protection”) and SNORT
- Client and site-to-site VPN functionality
- Layer 7 shaping/filtering
I bought the Advanced Security license, which unlocks content filtering, AMP, IDS/IPS, Google SafeSearch enforcement, and GeoIP-based firewall.
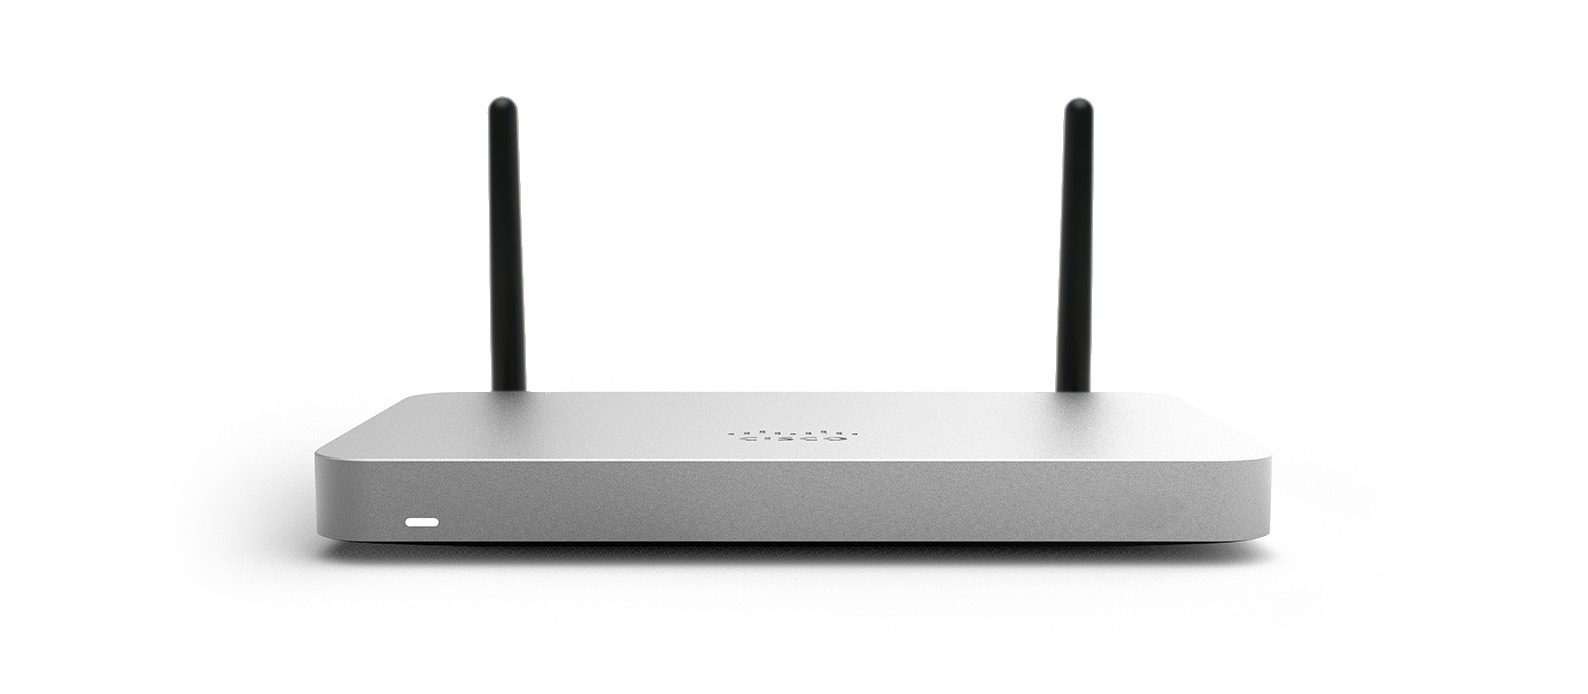
Here’s one of the marketing shots:
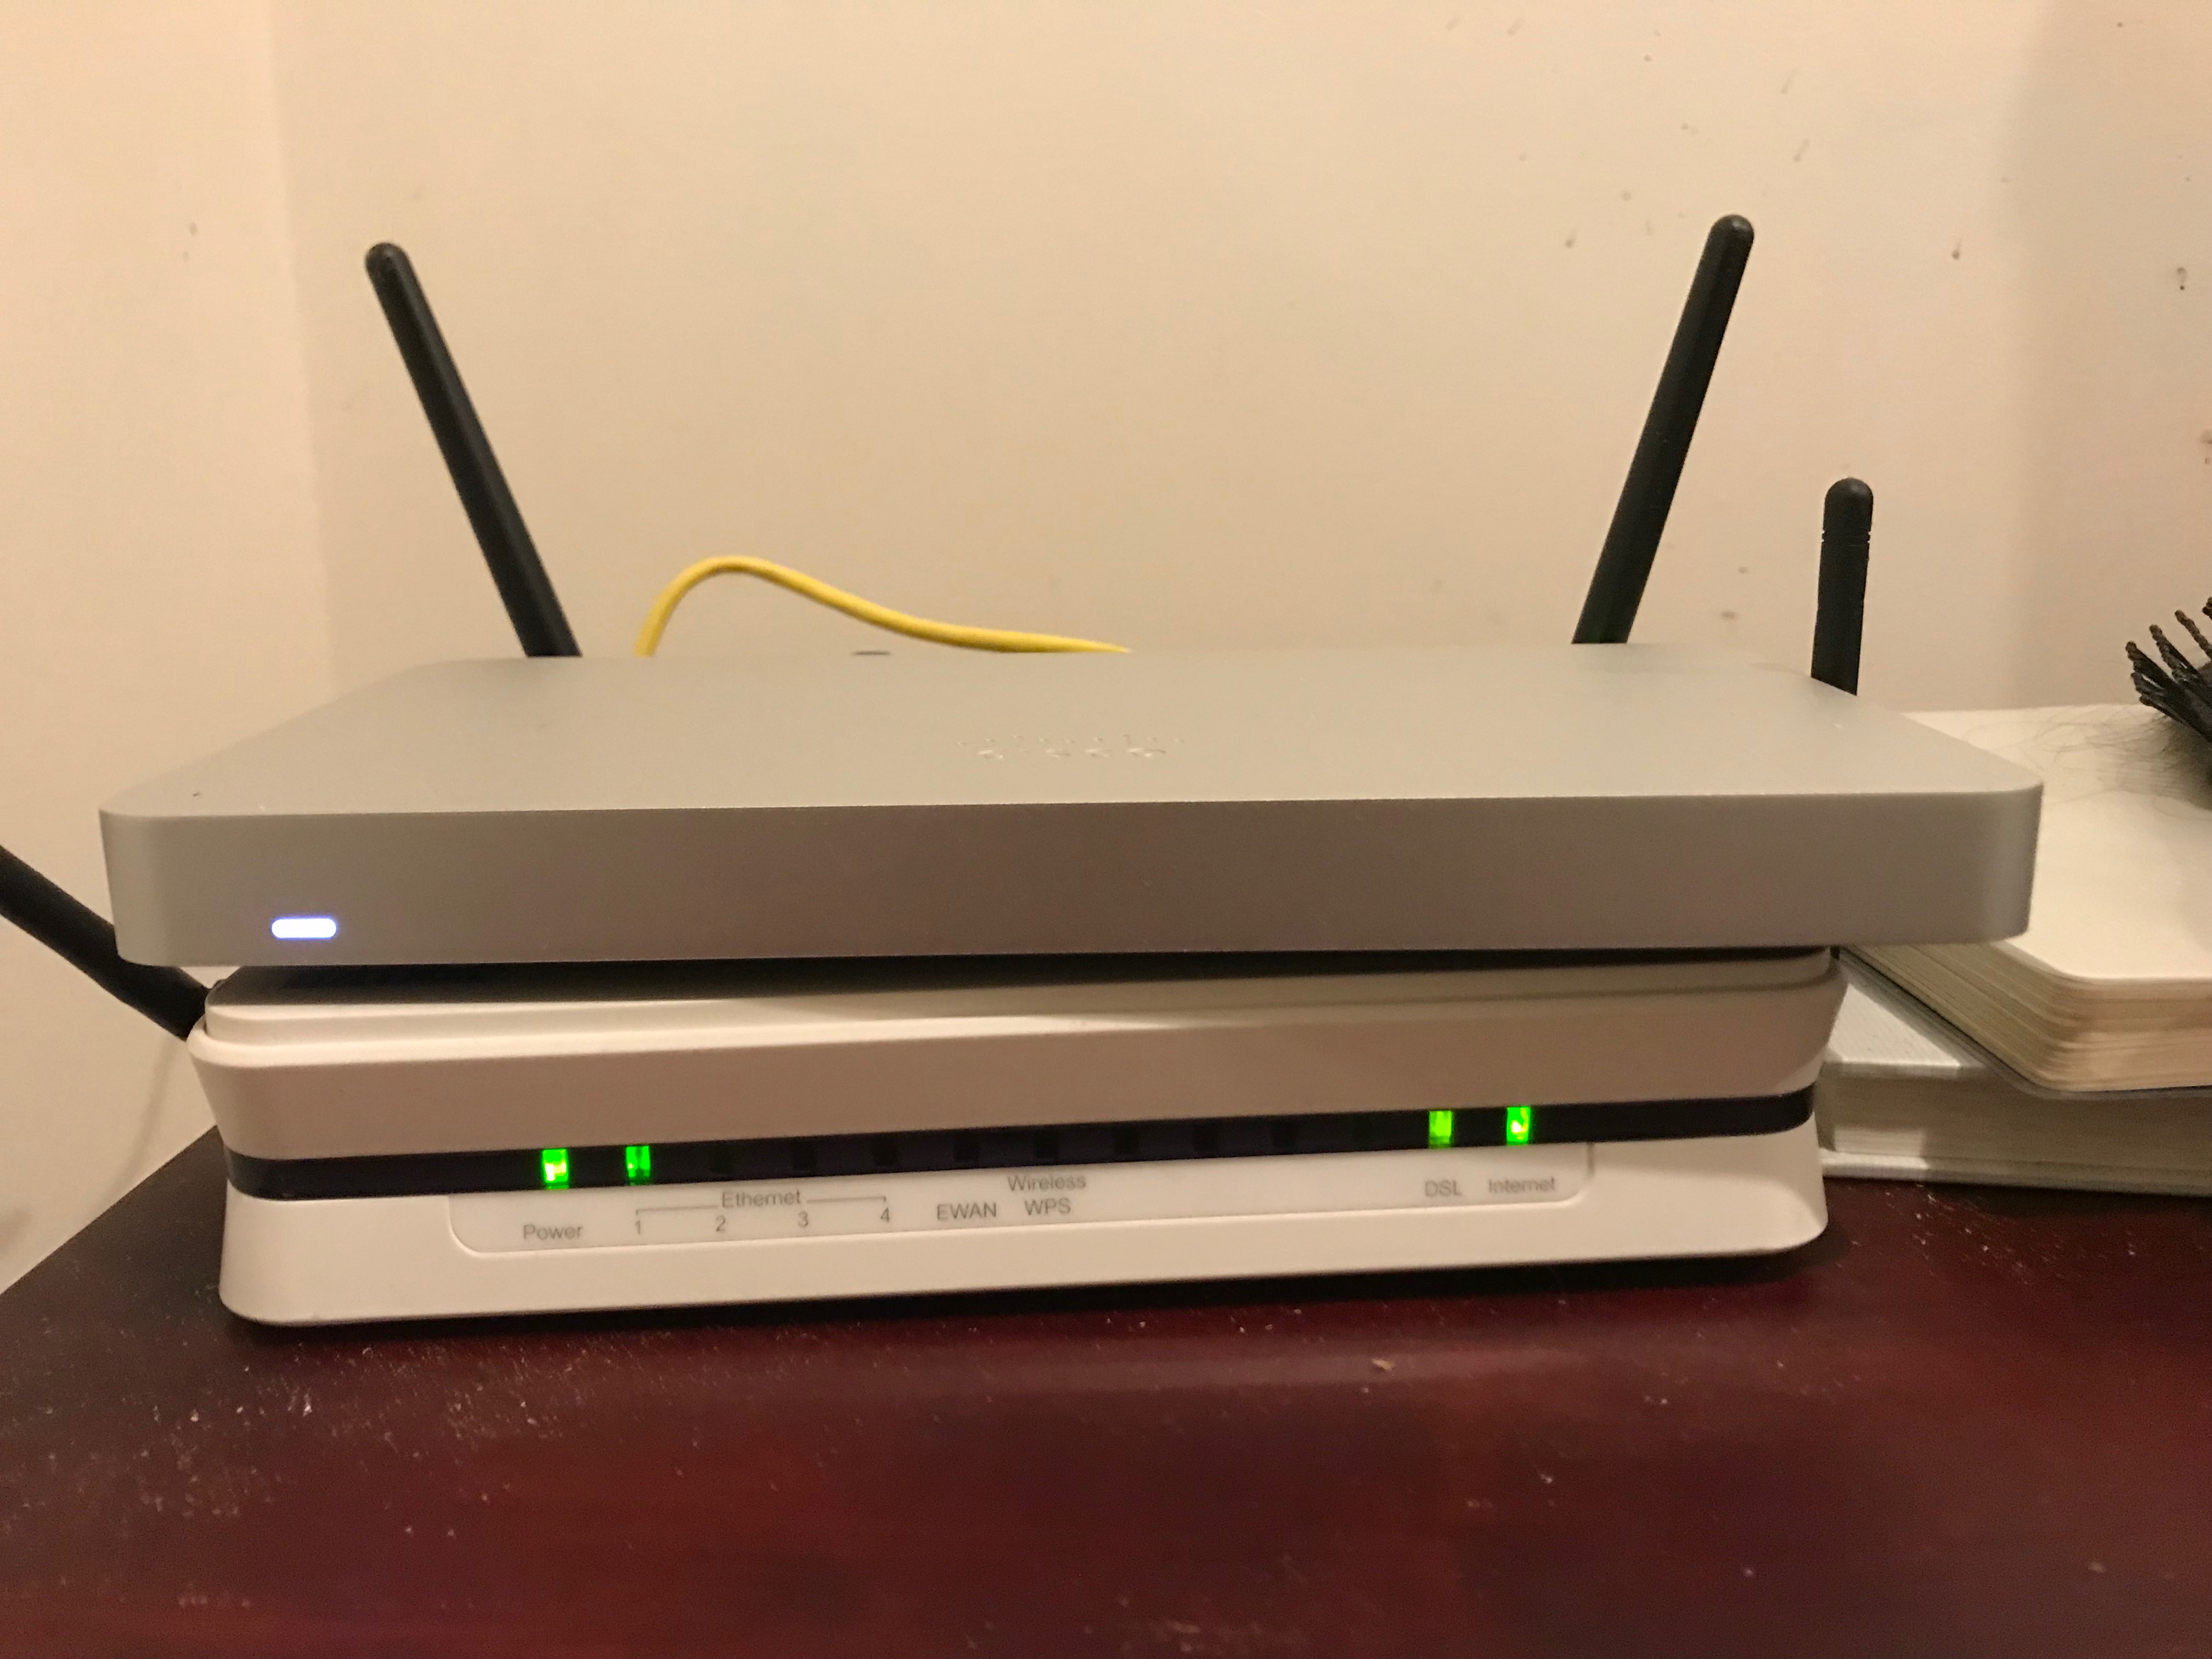
And here it is, once it’s been installed on top of my ADSL (BOOOOO!) modem in the server rack, AKA. the bedside table.
In this post, I’m going to show you the unboxing process, as well as the setup process, minus the actual network configuration.
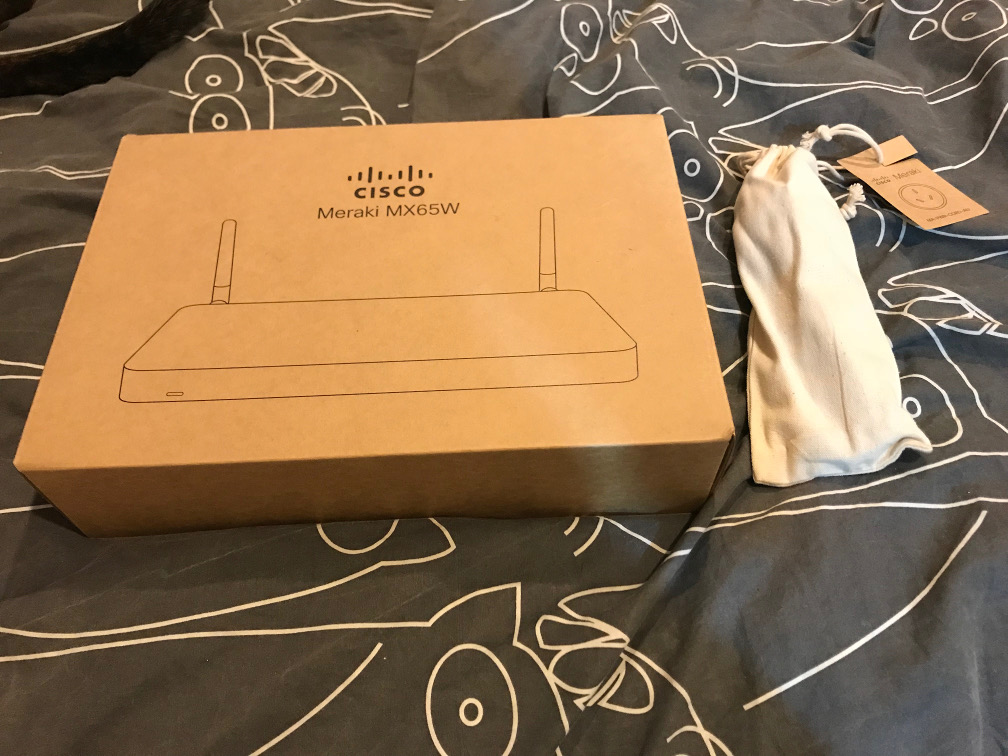
First thing’s first, unboxing
Because I’m in Australia, the MX was ordered/shipped with an Australian power lead, pictured in it’s little drawstring cloth bag on the right.
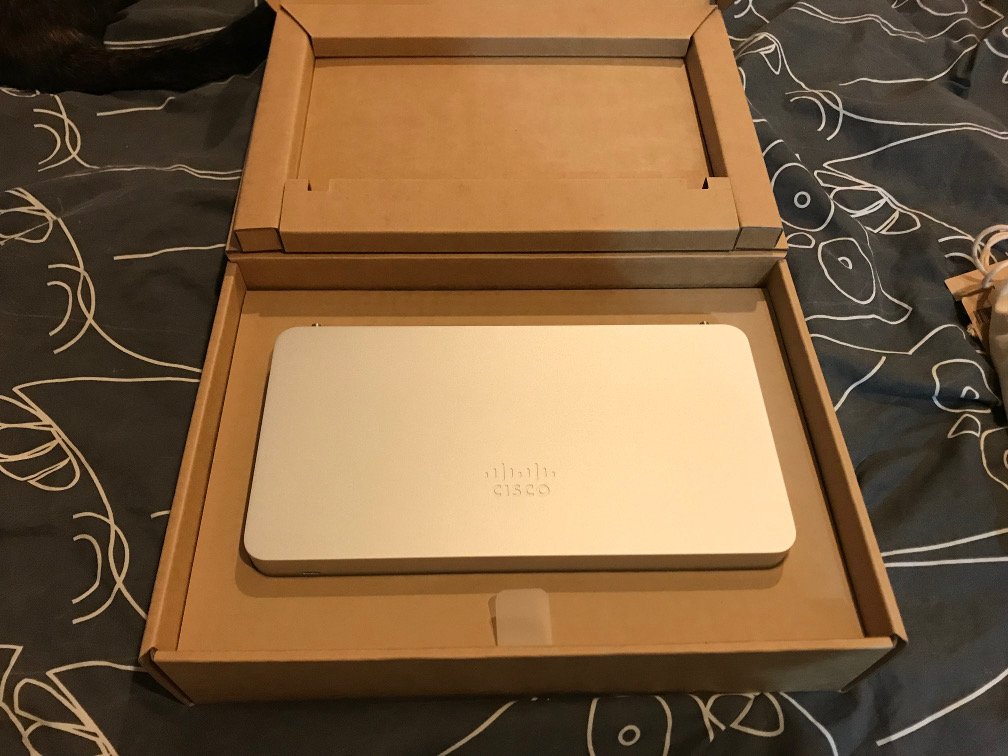
Here is the box, with the lid opened, showing a decent amount of cardboard packing.
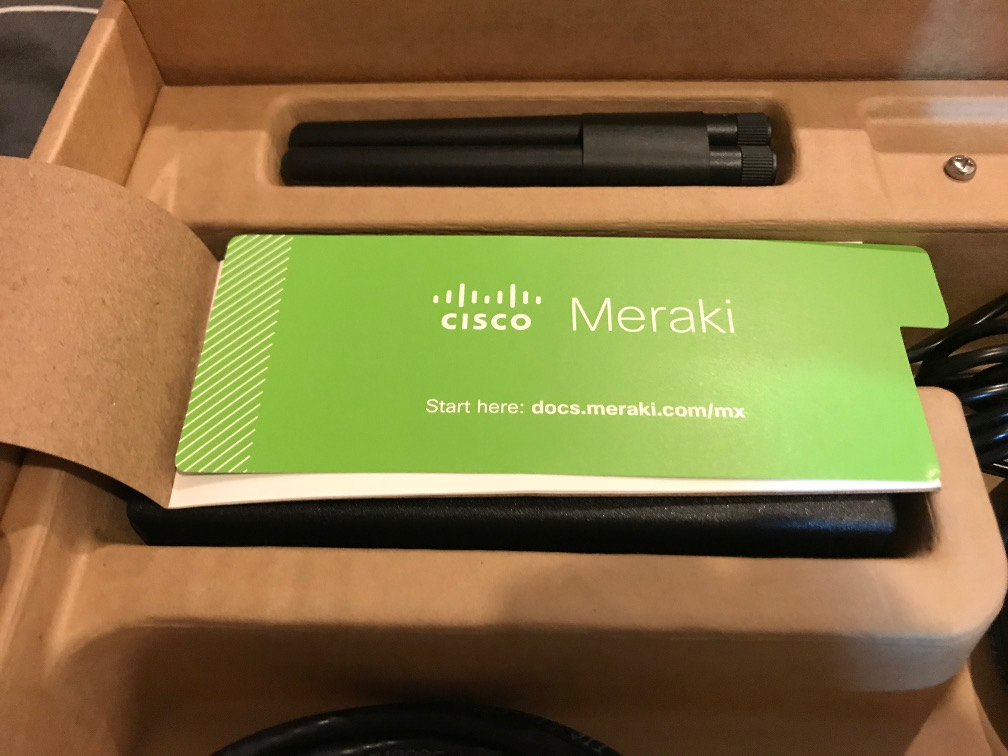
And here is everything else in the box, once the MX and it’s platform has been removed.
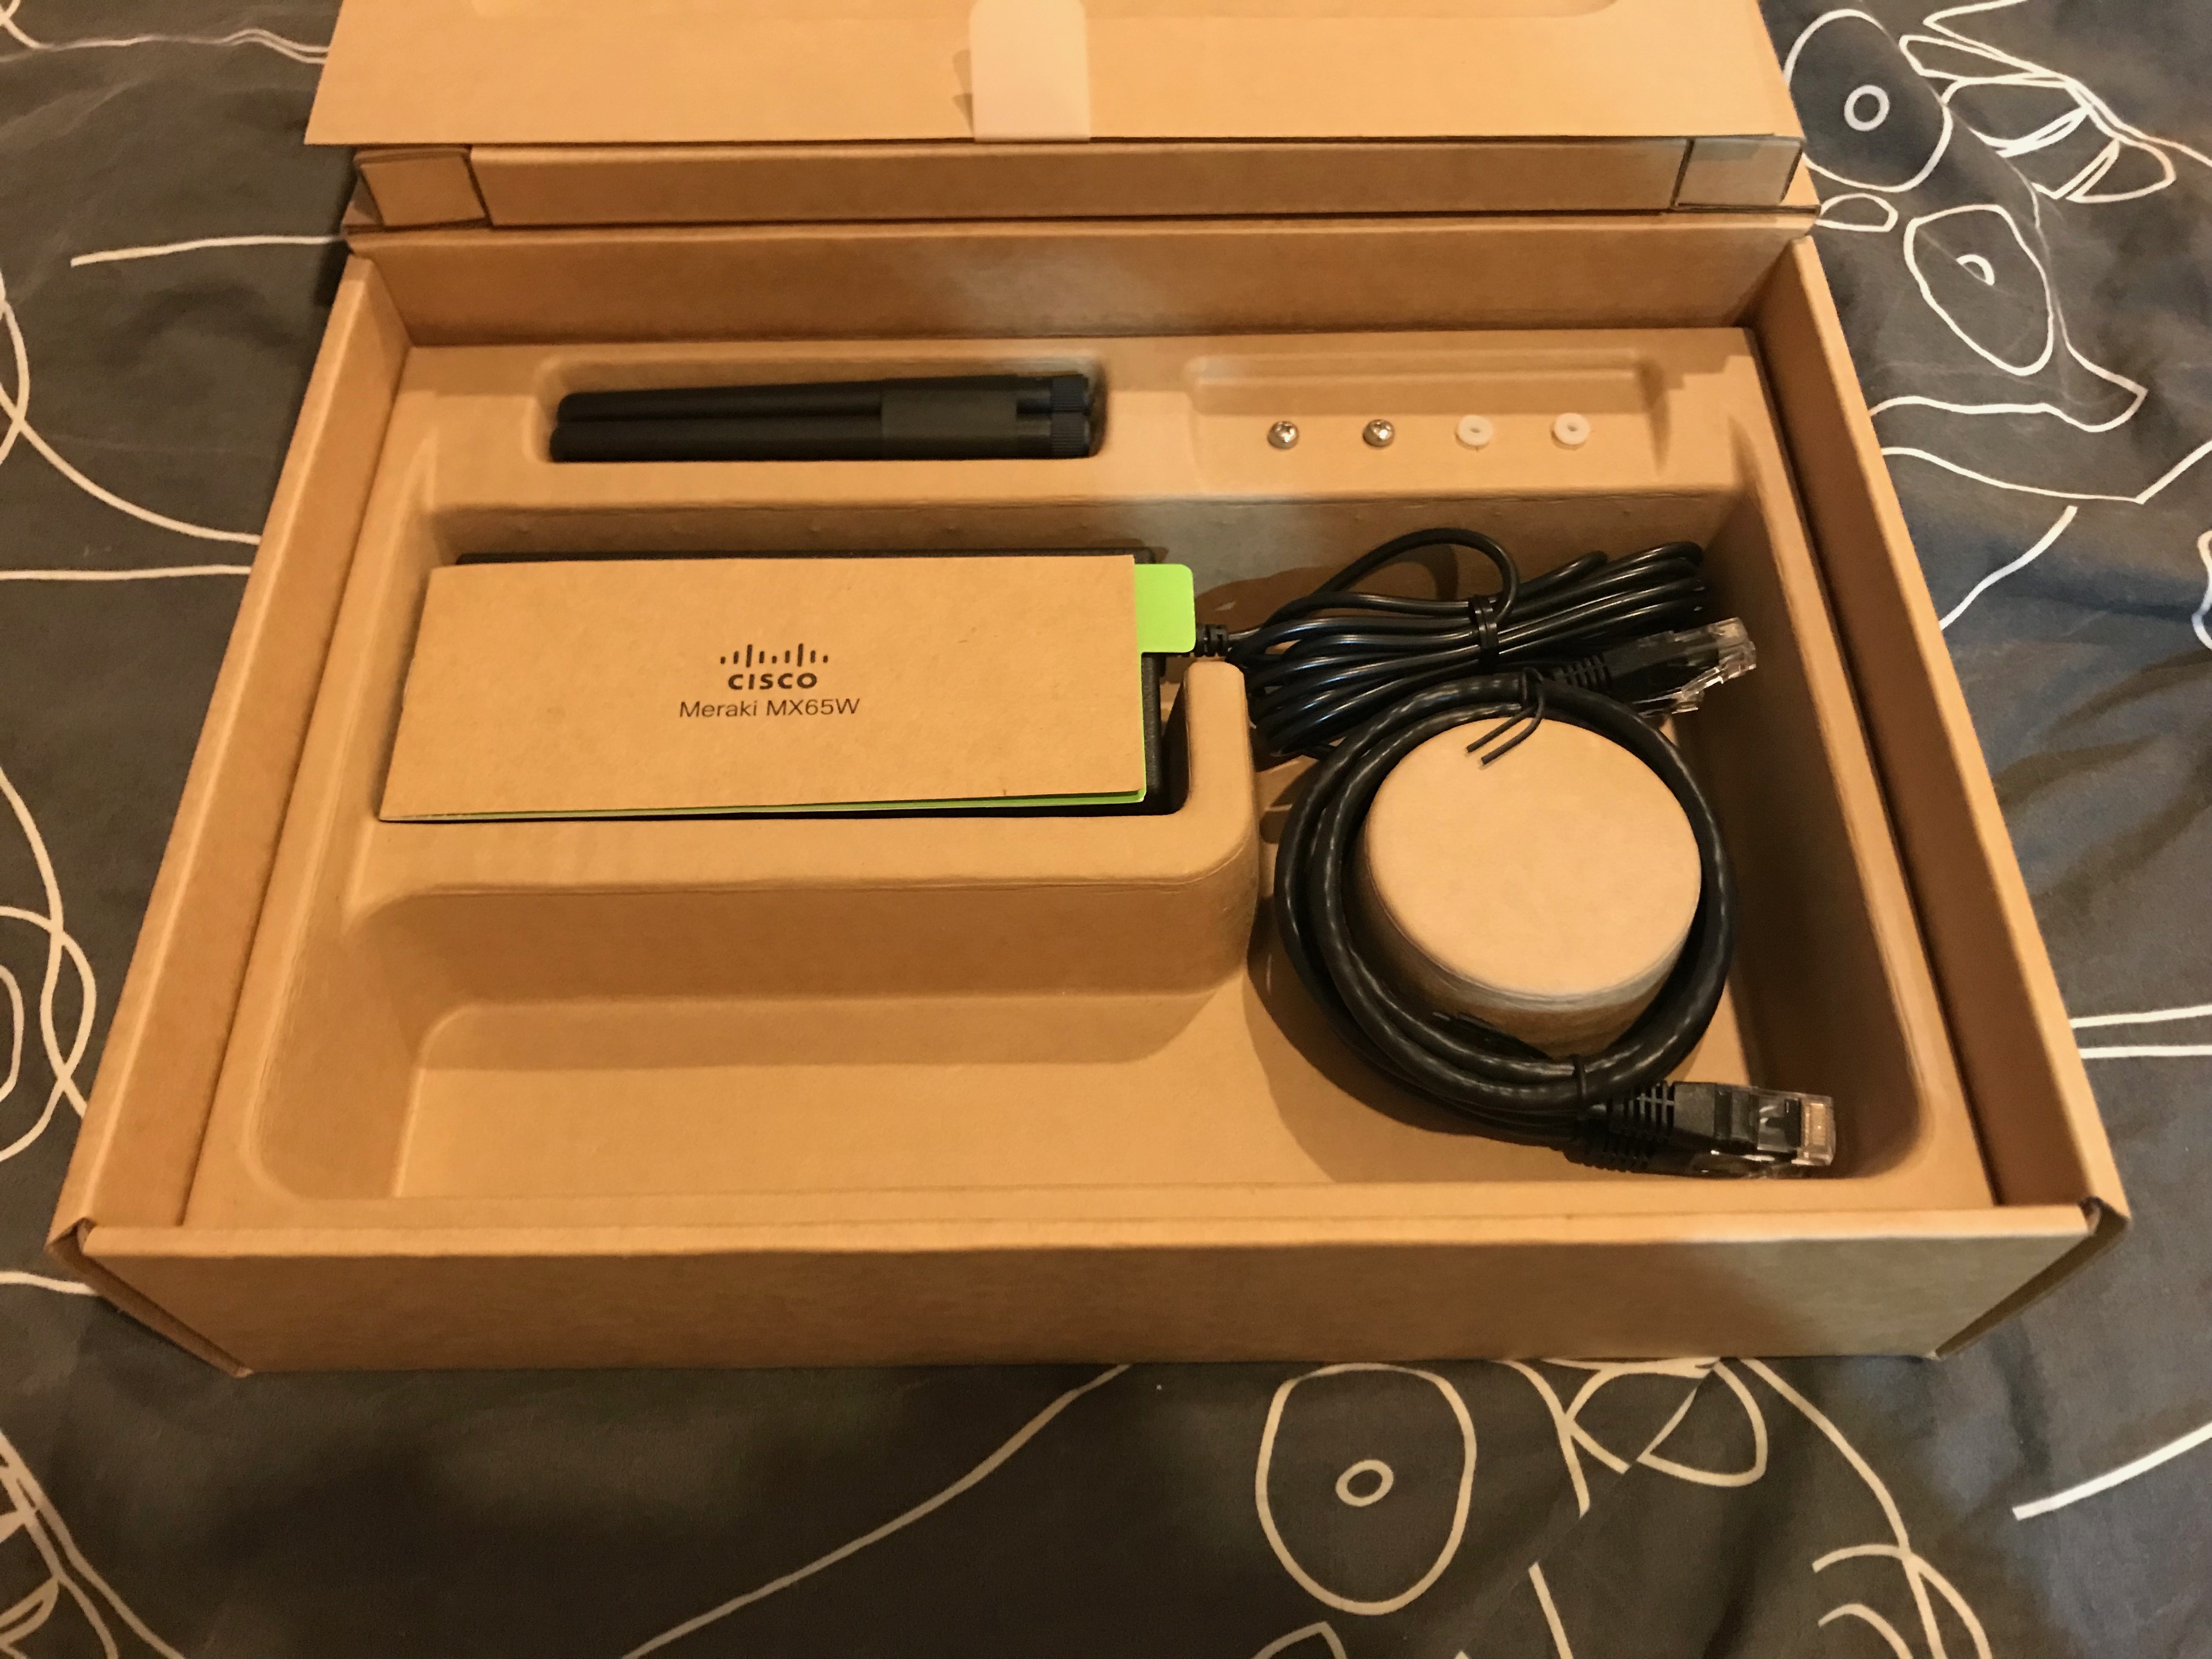
Pictured:
- 2x 1 meter Cat5E ethernet cables
- Bit disappointed here, you could have sprung for at least Cat6, Meraki
- Mounting screws
- 2x Omnidirectional Wi-Fi antennas
- AC to DC power inverter brick
- A card with a link to the Meraki getting started documentation
In case anybody’s interested, here is the power brick.
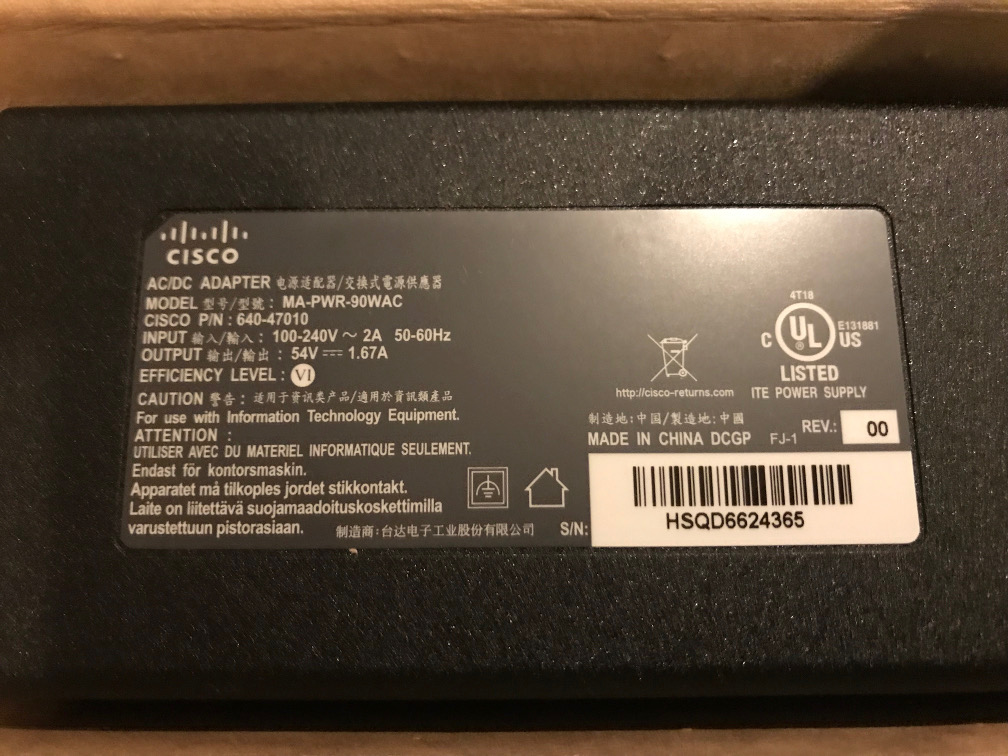
- Model: MA-PWR-90WAC
- Cisco Product Number: 640-47010
- Input: 100-240V ~ 2A 50-60Hz
- Output: 54V @ 1.67A
- Efficiency Level: 6 (VI)
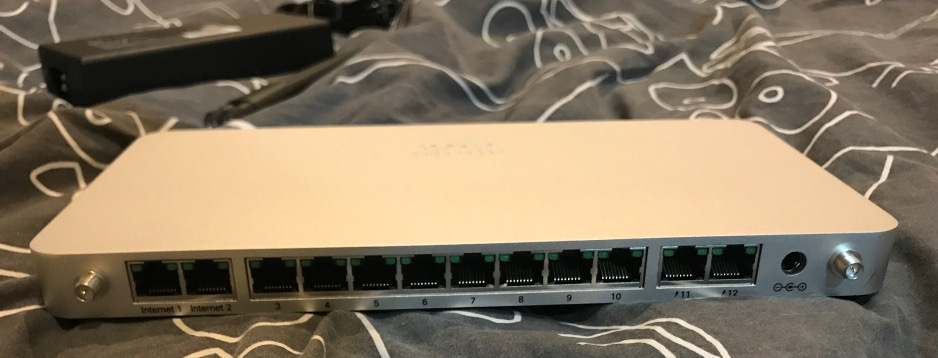
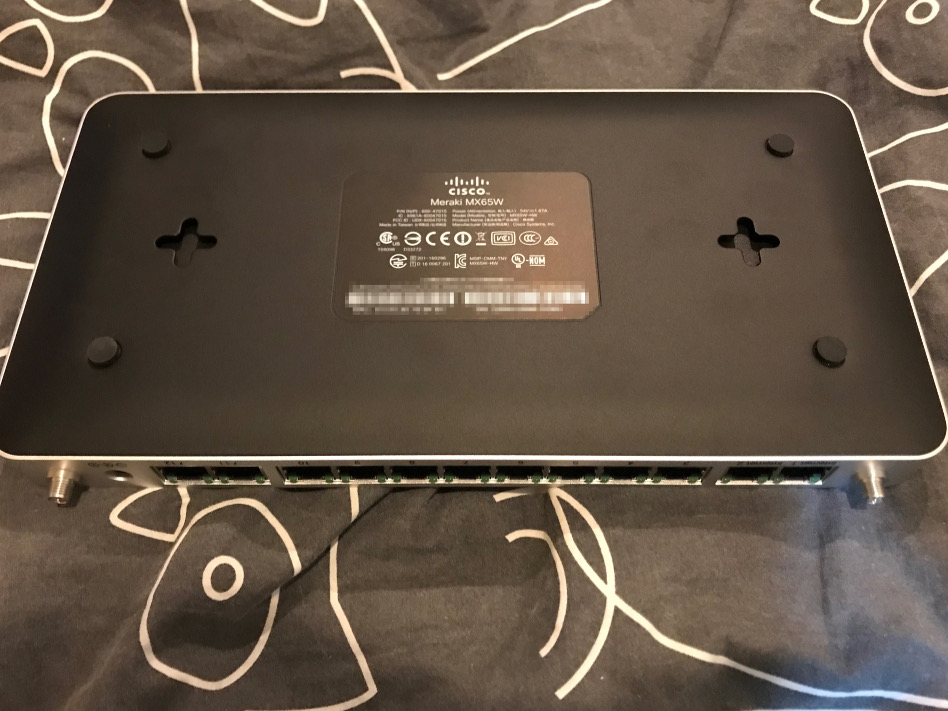
A couple of out of the box shots:
Deploying the MX65W in Meraki Dashboard
One of the cool things that you can do with Meraki devices, is configure them before they even ship to you.
Using the Meraki Dashboard you can claim your device as soon as you recieve a shipping notice containing your serial numbers.
To do so, browse to Organization –> Configure –> Inventory, and then press the “Claim” button.
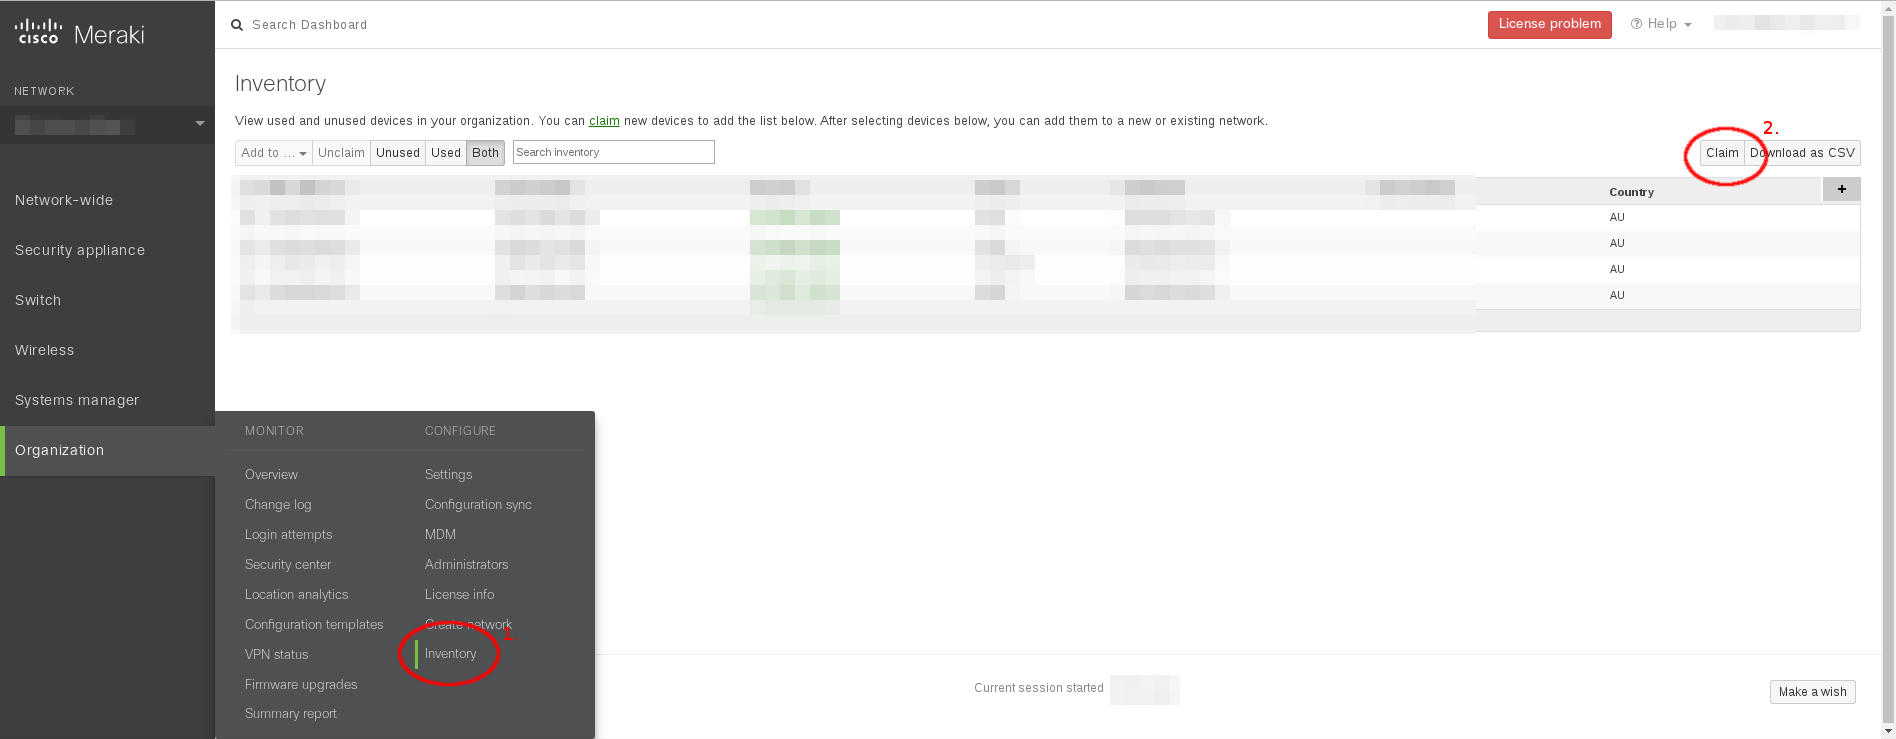
You’ll get a screen asking you for your serial or order numbers, one per line.
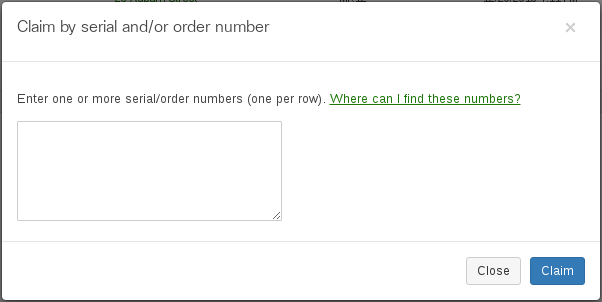
Once entered, hit “Claim”, and your new device should be added to the inventory!
Finally, check the new device’s checkbox (left), and click “Add to…” to add the new device to an existing, or a new Meraki network (cloning the configuration of another network, if desired).

From here, you should license your network (Organization –> License info), and start configuring your new devices.
I hope this was helpful to somebody. If I come across anything interesting, I might write some more about the MX65W.
If you haven’t used Meraki before, you can attend a free informational webinar, and, if your situation qualifies, you can even score a free wireless AP out of it!
If you have any questions about Meraki, or the MX65W, let me know, and I’ll see if I can help out.
I’m always around on Twitter @XORcat, or on email at rzb@xor.cat.
Now, back to my OSCP labs!
Thanks!
XORcat
